Tutorial - Neon Sign Effect
Issue: Create a Neon Sign Effect using Photo Pos Pro tools (figure no. 1) (figure no. 1)
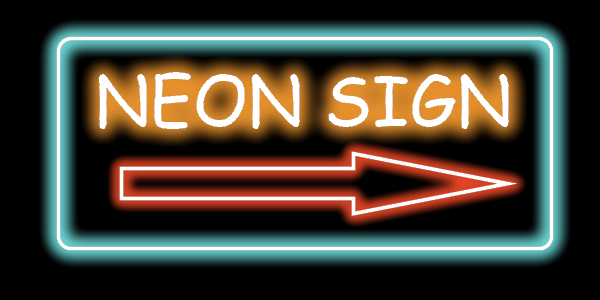
figure no.1
With Photo Pos Pro tools you can easily create special effects. To create a Neon Sign Effect simply follow these steps:
-
Start with creating 600 x 300 pixels new black empty image (Click on File -> New -> Blank Image menu, figure no.2).
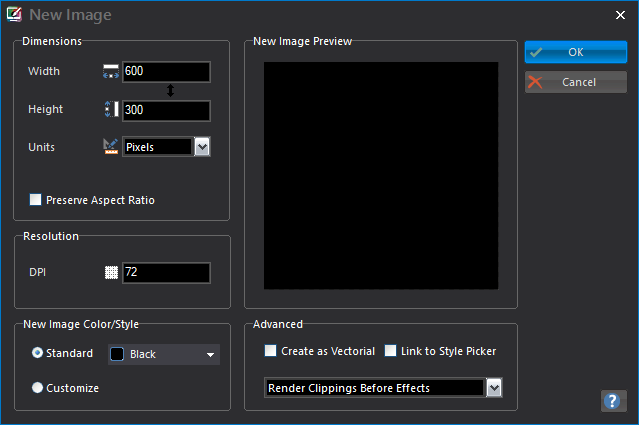
figure no.2
-
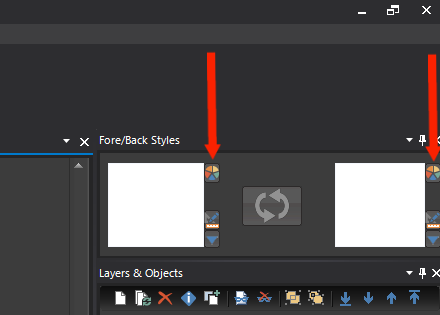
Set the BOTH Fore & Back Color/Style to White (found on the upper right side)
-
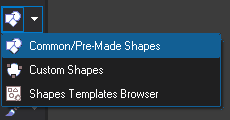
From the tools (the left) toolbar choose the Common/Pre-made Shapes Tool
-
At the shapes properties toolbar (the upper toolbar, figure no.3) click on the more shapes button (1) to open the more shapes dialog, select the "Geometric Shapes (1)" from the dialog dropdown (2) and next select the rounded rectangle shape (3)
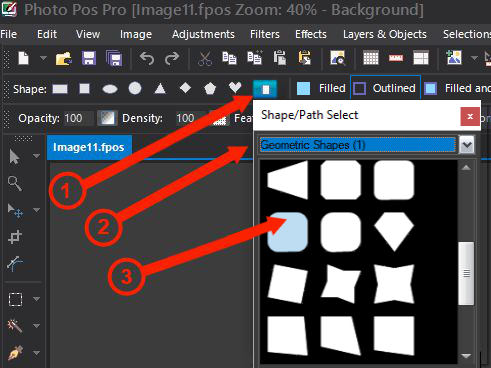
figure no.3
-
Use the mouse to draw a piece of outlined rounded rectangle shape
,move & resize the rectangle to the desired location (figure no.4)
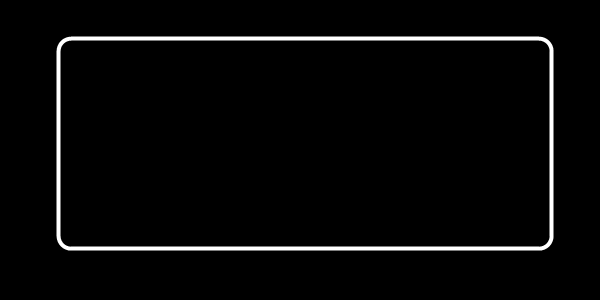
figure no.4
-
Click on ESC key or on Layers & Objects -> Deselect All Layers & Objects menu, to deselect and fixed the rounded rectangle to it's place
-
At the shapes properties toolbar (the upper toolbar, figure no.5) click on the more shapes button (1) to open the more shapes dialog, select the "Arrows (1)" from the dialog dropdown (2) and next select the first arrow shape (3)
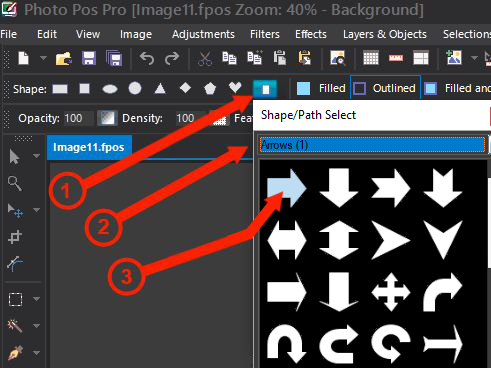
figure no.5
-
Use the mouse to draw a piece of arrow shape
,move & resize the arrow to the desired location (figure no.6)
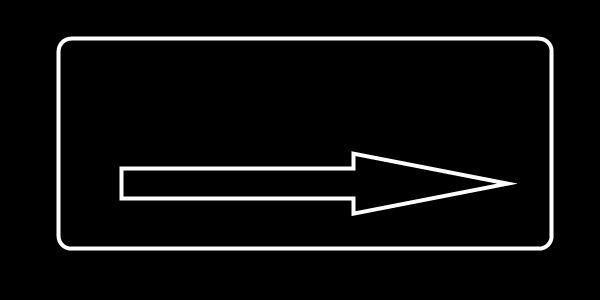
figure no.6
-
Click on ESC key or on Layers & Objects -> Deselect All Layers & Objects menu, to deselect and fixed the arrow to it's place
-
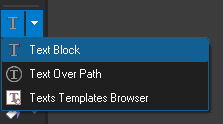
Choose the Text Block Tool:
In order to draw a text, point the mouse on the starting point of the text, press and hold down the left mouse's button . Next, drag the mouse's pointer to the spot where you wish the text to end and release the button.
Continue Tutorial (Steps 11-20 / Part B) >>>
|