Chapter 5: The power of selections Part A
Area Selections
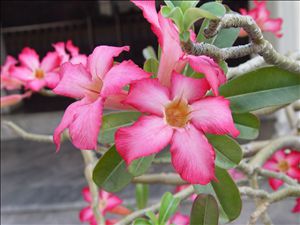
In many cases, there is a need to perform operations only on certain parts of an image. In fact, this is one of the most common tasks in the digital processing (editing) of an image. The possibility to perform operations only on certain parts of the images enables you to perform accurate editing operations only on those areas needed without having to change the rest of the image.
In order to follow this chapter please click on the above sample photo in order to download it:
Selecting an area on an image
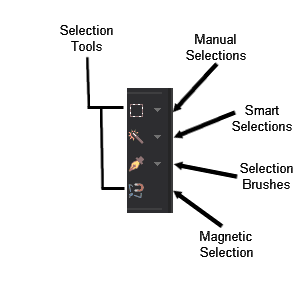
Photo Pos Pro has some powerful selection tools: Manual Selections, Smarts Selection & Selection Brushes, those tools can be found under the tools toolbar (the left toolbar) .Additional functions related to selections are found under the Selections menu.
Now, let's try it out with the sample photo. In order to load/open the sample photo you just downloded please click on the File -> Open... menu and select the photo "ch5a_SamplePhoto1.jpg" from your downloads folder.
We will start with the most basic selection tool - the manual geometric selection tool. With the manual selection tool you can select area(s) based on many predefined geometric and other shapes as is or combined.
-
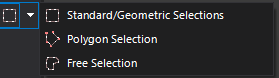
From the tools (the left) toolbar please select the - "Standard/Geometric Selections" tool
-
In order to (actively) select an area on the picture, use the mouse to point on the spot where you wish the selection to begin. Click on it with the mouse's left button. While keeping the button pressed, drag the mouse until you reach the desired shape. To finish the operation, release the mouse's left button. The selection created will appear on the screen.
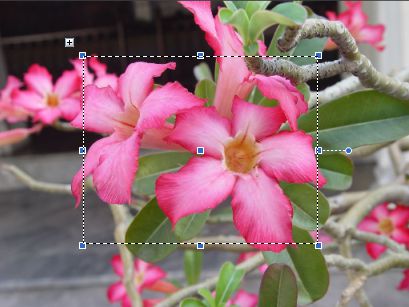
For this tutorial select the approximate area shown on figure no.1
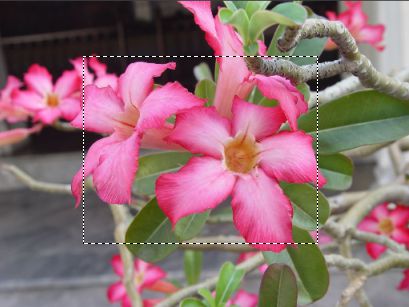
figure no.1
-
The selected area is represented by a broken "blinking" line called Marquee. Next, point with mouse somewhere inside the selected area, doing this will expose the selected area move/rotate/resize interface. Using this interface you can move the selection and fit its size, location, angle & more to your needs (figure no.2). Try it out - try to move resize and rotate the selection (figure no.3)
 |
|
 |
| figure no.2 |
|
figure no.3 |
- When an area(s) is selected you can see the selected area info such as size, location, angle and etc on the left bottom bar (When a selection tool is in use).
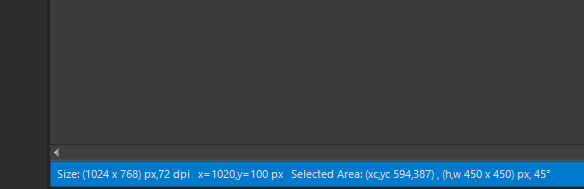
figure no.4
The most important thing you should know regarding area selection(s) - When an area(s) is selected all the software commands and tools will run only on the selected area (and not on the entire image)
Let's this out:
-
Click on the Adjustments -> Brightness Contrast.. menu (or on the top right upper shortcuts toolbar
 icon), (figure no. 5) icon), (figure no. 5)
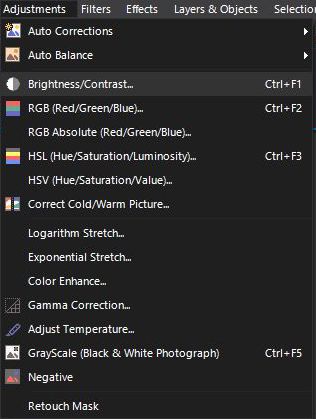
figure no.5
-
Once clicking the Adjustments -> Brightness Contrast, the Brightness Contrast dialog will be open. Next set the Brightness level to 40 and the Contrast level also to 40 and click OK. As you can see only the selected area was affected by the function. (figure no. 6)
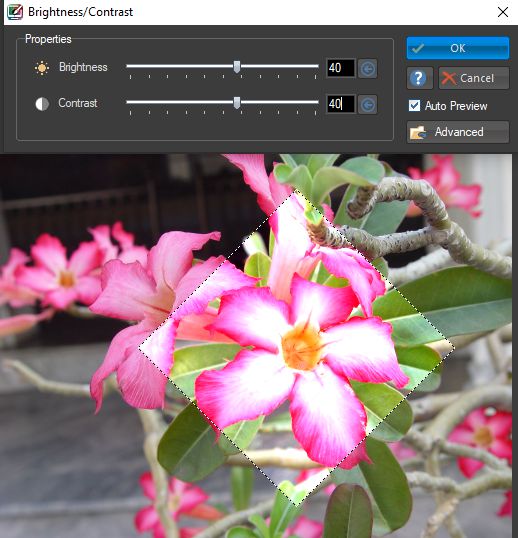
figure no.6
-
As you saw only the selected area was affected by the function. As long as there is a selected area(s) any of the software functions and the tools will be limited (and will work) to the selected area(s).
Previously we tried the Brightness Contrast function, now lets try a tool, for this example select the paint brush tool. Next we will set the color of the brush to red - to do that set the software fore color to red (figure no.7)
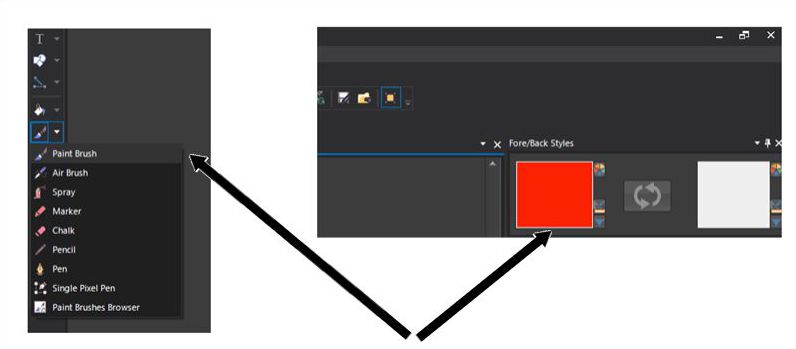
figure no.7
-
Now, let's try to do some paintings over the picture - In order to paint on the picture, bring the mouse to the spot on which you wish to paint. In order to paint, move the mouse in the desired direction while pressing the left button (to paint with the Fore Color/Style) or the right button (to paint with the Back Color/Style).
As you'll see you'll be able to draw only inside the selected area, ie the selected area limits the tool/function to the boundaries of the selected area (figure no.8)
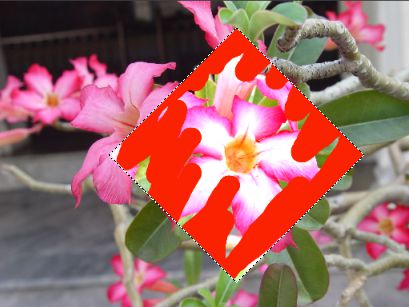
figure no.8
-
Deleting the selected area content - Photo Pos Pro allows to clear/delete the selected area easily number of ways:
- Via the keyboard using the delete key - Clicking the delete key will delete the selected area content and leave it empty (transparent)
- Via the clear/delete dropdown button founds on the selection properties toolbar (the upper toolbar) by selecting on of three options, figure no.9:
Delete/Clear dropdown: - Delete Selected Area: This command will delete the selected area content (on the active/selected layer) depend on the layer mask lock mode, same as clicking on the delete key
- Clear Selected Area (Fill With Fore Style): This command will clear the current selected area content (on the active/selected layer) and will fill it with the current software fore style
- Clear Selected Area (Fill With Back Style): This command will clear the current selected area content (on the active/selected layer) and will fill it with the current software back style
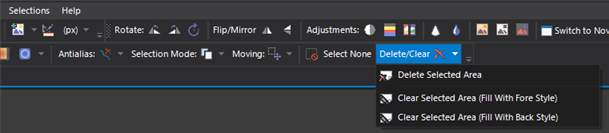
figure no.9
-
Deselect area - Once finished working with a selection, in order to cancel it (called deselect) click on the Selection -> Select None menu or on the Esc or Enter key. This will clear the selection and will remove the "blinking"/Marquee
Now after we understand the basics let's start with the fun stuff :)
Next we will perform a practical editing using selection - In order to continue please close the current image without saving it and reopen it to get back the original photo without the changes we made
-
Open the sample photo you previously downloded - click on the File -> Open... menu and select the photo "ch5a_SamplePhoto1.jpg" from your downloads folder.
-
From the tools (the left) toolbar please select the - "Standard/Geometric Selections" tool
-
At the selections properties toolbar (the upper toolbar, figure no.10) click on the custom selection shape button (1) to open the custom selection shape dialog, select the Geometric Shapes from the dialog dropdown (2) and next select the circle selection shape (3)
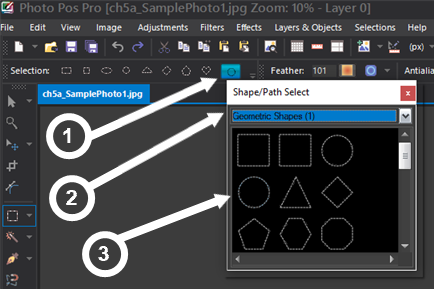
figure no.10
-
Using the mouse select a circular area around the flower (figure no.11)
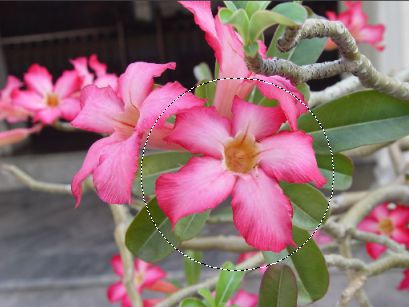
figure no.11
-
In this tutorial we will sharpen the flower while blurring the background to make the photo look professional and to make the viewer to focus only on the flower. We will start with blurring. Since we selected the flower but we want to blur the background we have to invert the selection - to make select the background while deselect the flower. To do that click on the Selection -> Invert menu (figure no.12)
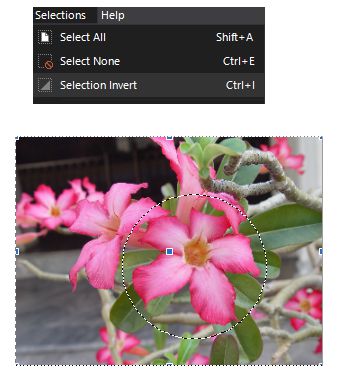
figure no.12
-
Click on Filters -> Blur -> Gaussian Blur... menu, set the level to 150 and click OK (figure no. 13), Next click on the Selection -> Select none menu to cancel the selection (figure no. 14)

figure no.13
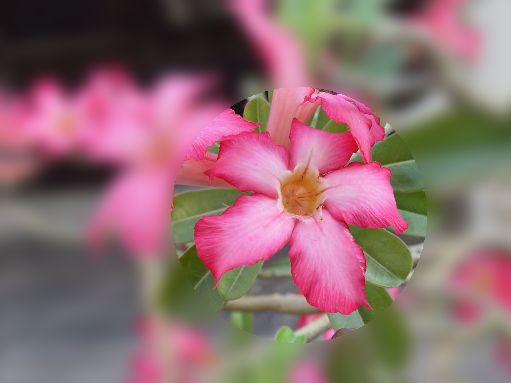
figure no.14
-
As you can see in figure no.14 the transition between the blurred area and none blurred area is very sharp and not looks natural. In order to get more natural result the transition between the areas should be gradual. To achieve that we will use a property of a selection called "Feather". To do this we will cancel the actions we did so far and will reselect the flower area this time using a selection with a feather.
- Click the undo button
 (found on the upper left toolbar) multiple times until you'll get back to the original image (found on the upper left toolbar) multiple times until you'll get back to the original image
- On the selections properties toolbar (the upper toolbar) set the feather value to 150, figure no.15
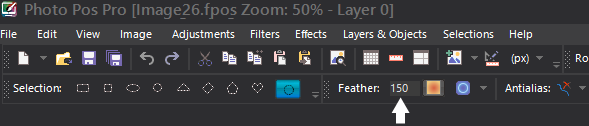
figure no.15
-
Reselect a circular area around the flower, as you'll see the selection will be expanded by the feather size
-
Reminder: Since we selected the flower but we want to blur the background we have to invert the selection - to make select the background while deselect the flower. To do that click on the Selection -> Invert menu (figure no.16)
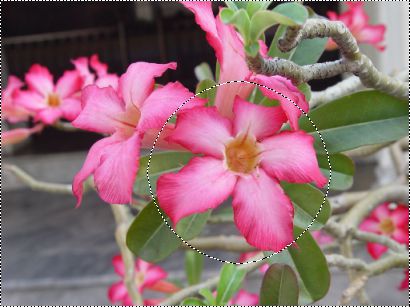
figure no.16
-
Now let's apply the blur again - Click on Filters -> Blur -> Gaussian Blur... menu, set the level to 150 and click OK. As you can see this time the transition between the blurred area and the none blurred area is smoother (figure no. 17)
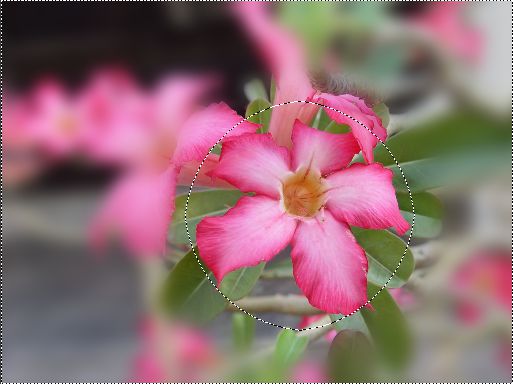
figure no.17
-
Next we will apply some sharpness and color level to the flower in order to get more impressive result. To do that first click on the Selection -> Invert Selection menu, this will invert the selection and actually will select the flower,
Next click on the Filters -> Sharpen -> Custom... menu, set the level to 85 and the harshness to 2
(figure no. 18)
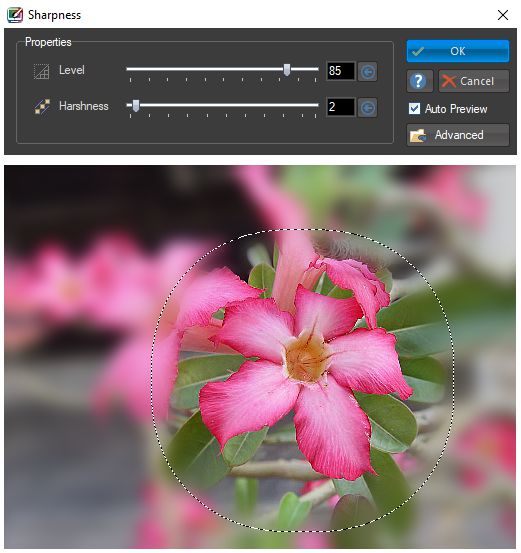
figure no.18
-
we will apply some color level to the flower, in order to do that we will use the HSL (Hue/Saturation/Luminosity) function we've learned about on Chapter no.2.
Click on the Adjustments -> HSL (Hue/Saturation/Luminosity)... menu, on the HSL (Hue/Saturation/Luminosity) dialog set the Hue to 0, set the Sat (controls the color level) to 20, the Lum to 0 and click OK
(figure no. 19)
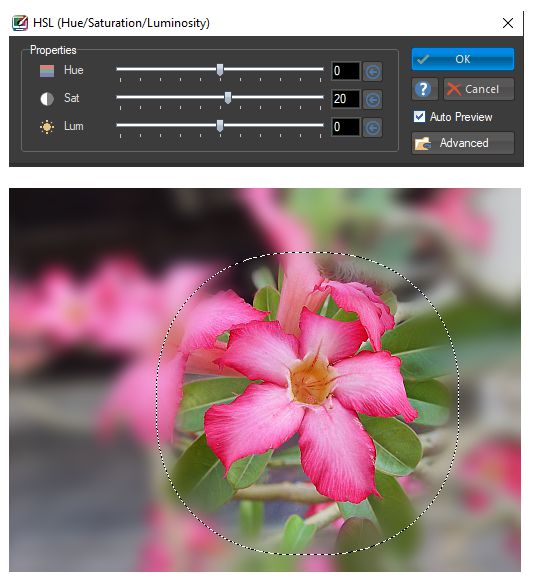
figure no.19
-
Finally click on the Selection -> Select none menu to cancel the selection and to get the final result
(figure no. 20)
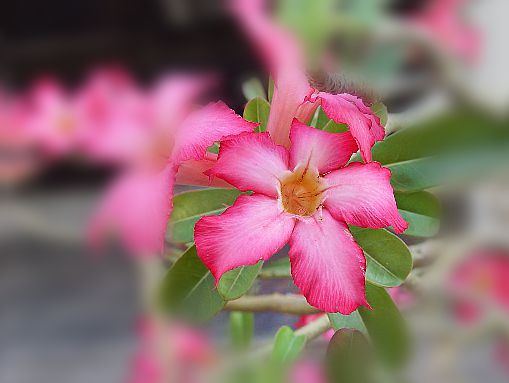
figure no.20
Next, Chapter 6: The power of selections Part B >>>
Otional Reading: Additional info about manual selection tools
The software's manual selection toolbox contains 3 main selection tools: the Standard (Geometric, the one we just used) Selection tool, Polygon Selection tool & the Free Selection tool. With the manual selection tools it is possible to perform various operations
Read More...
Standard/Geometric Selection Tool
As we just saw, with this tool is possible to select areas on a picture with geometric shapes like squares, rectangles, circles, ellipsis, arrows, stars, hearts and much more, or a combination of the above. In order to activate the tool, press the Manual Selections -> Standard/Geometric Selections menu button in the Tools Toolbar (the left toolbar)
Read More...
Polygon Selection Tool
With this tool it is possible to select areas on the picture in any polygonal shape. In order to activate the tool, press the Manual Selections -> Polygon Selection Tool menu button in the Tools Toolbar (the left toolbar).
Read More...
Free Selection Tool
With this tool it is possible to select areas on the picture in any shape whatsoever. In order to activate the tool, press the Manual Selections -> Free Selection Tool menu button in the Tools Toolbar (the left toolbar).
Read More...
Next, Chapter 6: The power of selections Part B >>>
|