Photo Pos Pro free photo editor - Online Help

Custom Search
- User's Guide
- Welcome
- Quick Start
- Selections
- Printing, Scanning And Importing Images
- Advanced Image Editing
- Colors And Brightness
- Auto Corrections
- Brightness/Contrast
- RGB (Red/Green/Blue)
- RGB Absolute (Red/Green/Blue)
- HSL (Hue/Saturation/Luminosity)
- HSV (Hue/Saturation/Value)
- Logarithm Stretch
- Exponential Stretch
- Gamma Correction
- GrayScale
- Negative
- Split To RGB
- Combine From RGB
- Color Depth
- Image Background Color
- Curves
- Replace
- Histogram (Stretch, View, Equalize)
- Size, Orientation And Resolution
- Filters
- Advanced Picture Corrections
- Editing Tools
- Colors And Brightness
- Drawing And Painting
- Text Tools
- Effects
- Layers And Masks
- Vecotorial Objects
- Textures, Patterns And Gradients
- Scripts and Batch Operations
- Picture Browser
- Expanding Photo Pos Pro's Capabilities
- Program's Interface
- Overview
- Menus
- Toolbars
- Program's Tools
- Pointer Tool
- Magnifying Tool (Zoom)
- Standard (Geometric) Selection Tool
- Custom Selection Tool
- Magic Wand (Selection) Tool
- Color Sampler Tool
- Paint Brush Tool
- Custom Paint Brush Tool
- Clone Brush Tool
- Super Magic Brush Tool
- Line Tool
- Shape Tool
- Flood Fill Tool
- Text Tool (Regular)
- Text Over Path Tool
- Refiner Tool
- Eraser Tool
- Custom Eraser Tool
- Tutorials
- Add a frame to your photo
- Creating a Beautiful Photo Collage
- Isolate a certain part in the image (Crop)
- Removing an unwanted object (Clone Brush)
- Removing "Red Eye" from a picture
- Creating a Greeting Card
- Take out/in Someone From a Photo (Or Replacing an Image Background)
- Creating a Button
- Creating Outlined Text Effects
- Creating 3D Text Effects
- Creating a GIF image with transparent background
- Create a Film Artwork Design
- Create a Flame Effect
- Create a Lava Star effect
- Batch Conversion (File Format)
- Batch Resize (Pictures)
- Turn Your Design into HTML Web Page
- Fun with photos (Replace someone's body)
- Creating a Neon Sign
- Creating Magical Effects
- Inner Glow Effect
- Creating Chrome Effects
- Using Templates to Create Stunning Designs
- Building HTML Web Pages
- Adding water mark to picture (video turotial)
- Whiten teeth (video turotial)
- Adding a Tattoo to Person (Video Tutorial)
- Creating a Glass/Crystal Ball/Orb (Video Tutorial)
- How To Change Eye Color Using Photo Pos Pro (Video Tutorial)
- More...
- How to... (Quick guide for common tasks)

 icon at the right side of the upper toolbar) and the Line Properties window will open.
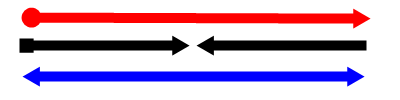
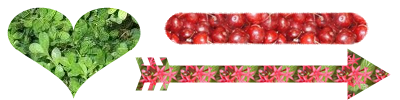
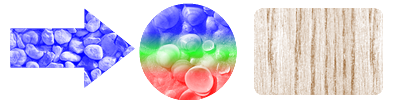


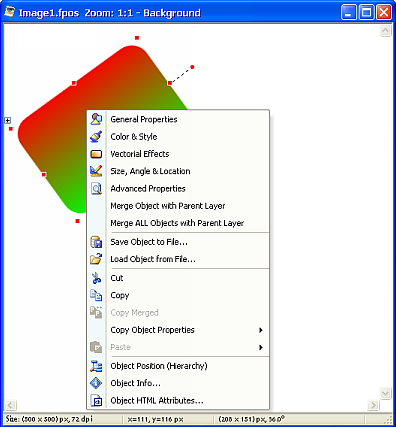
 (or the object relevant tool) from the tools toolbar, next right click on the desire object and select the desire edit command from the pop up menu. For example to change a shape colors right click on the shape and select "Color & Style" from the pop up menu. Next set up the desire colors. To change the shape look itself (like changing an existing arrow shape with another arrow look) simply right click on it and select "General Properties" from the pop up menu. Next select the new desire shape look.