Tutorial - Flame Effect
Issue: Create a Flame Effect using Photo Pos Pro tools (figure no. 1)
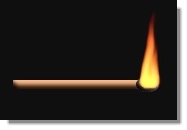 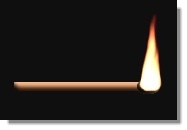
figure no.1
With Photo Pos Pro tools you can easily create special effects. To create a Flame Effect simply follow these steps:
- Start with creating 300 x 300 pixels new black empty image (Click on File -> New menu or Ctrl+n, figure no.2).
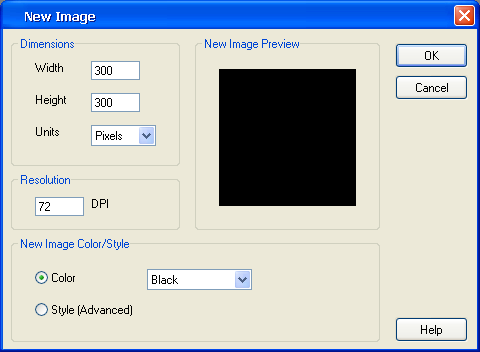
figure no.2
- From the Tools toolbar choose the Shape Tool -
 . Press F2 or . Press F2 or  and the Shape Properties window will open. Follow these steps: and the Shape Properties window will open. Follow these steps:
- Select the Color Transitioned (Vertical) from the Shape Automatic Styles toolbar (figure no. 6-A).
- Select the Shape Card Index (figure no. 6-B).
- Select Geometric Shapes from the Shape Library dropdown list (figure no. 6-C).
- Select the rectangle shape on the preview window (figure no. 6-D).
- Select the "Colors & Style" Tab and set the colors [Red: 199, Green: 108, Blue: 55] and [Red: 242, Green: 188, Blue: 144].
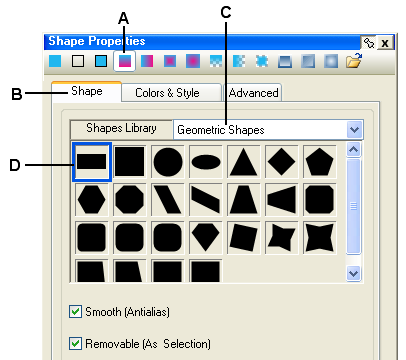
figure no.6
- Use the mouse to draw the match-stick (figure no.7).
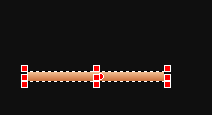
figure no.7
- Click on the Effects -> More -> 3D Menu� to open the 3D Effect dialog box.
- In the 3D Effect dialog fill in the data shown on figure no.8. Click ok to confirm when finished.

figure no.8
- Click Enter when finished to cancel all selections (figure no.9)

figure no.9
- From the Tools toolbar choose the Shape Tool - . Press F2 or and the Shape Properties window will open. Follow these steps:
- Select the Color Transitioned (By Shape) from the Shape Automatic Styles toolbar (figure no. 12-A).
- Select the Shape Card Index (figure no. 12-B).
- Select Geometric Shapes from the Shape Library dropdown list (figure no. 12-C).
- Select the ellipse shape on the preview window (figure no. 12-D).
- Select the "Colors & Style" Tab and set the colors [Red: 191, Green: 191, Blue: 191] and [Red: 95, Green: 95, Blue: 95].
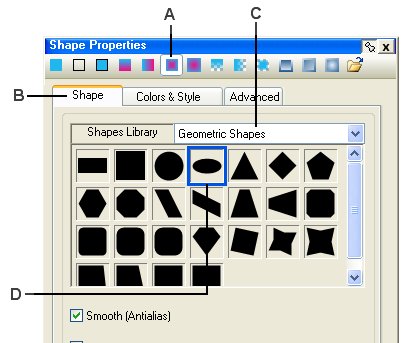
figure no.12
- Use the mouse to draw the match-head.
- Click on the Effects -> More -> 3D Menu� to open the 3D Effect dialog box.
- In the 3D Effect dialog fill in the data shown on figure no.15. Click ok to confirm when finished.
figure no.15
- Click Enter when finished to cancel all selections (figure no.16)

figure no.16
- Click on the Layers -> Create New Layer� menu to open the Add New Layer window. On the Add New Layer window fill in "Flame" in the name box and select the custom color option from the Background list. Click select color (the "..." button) and select the black color [Red:0, Green: 0, Blue: 0]. Click OK to confirm (figure no. 17).
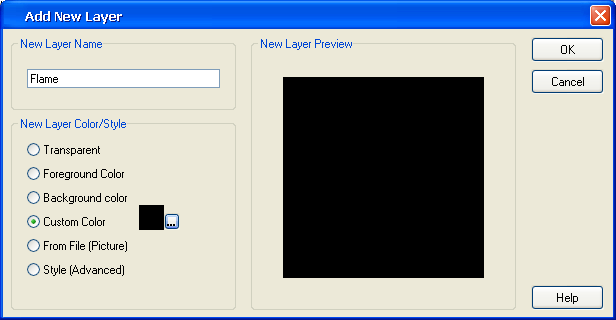
figure no.17
- Click F3 or
 to show the layers properties window: to show the layers properties window:
- select the Flame layer (Do it by clicking on the Flame label, figure no.18-A)
- Set the layer blend mode to Lighter (figure no.18-B).
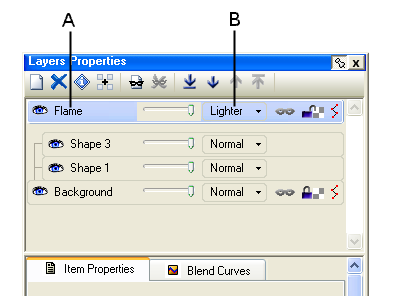
figure no.18
- Click the fore color box (found on the right hand side of the screen, figure no. 3) and select the orange color [Red:255, Green: 128, Blue: 64]. Click OK (figure no. 19).
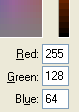
figure no.19
- From the Tools toolbar, choose the Paint Brush tool -
 . Press F2 or and the Shape Properties window will open. Follow these steps: . Press F2 or and the Shape Properties window will open. Follow these steps:
- Select the Air Brush button from the Brush Automatic Styles toolbar (figure no. 20-A).
- Select the Type Card Index (figure no. 20-B).
- Fill Width: 10, Height: 10 (figure no. 20-C).
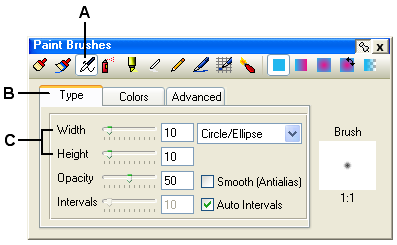
figure no.20
- Using the mouse cover the match head with this orange airbrush (figure no. 21)
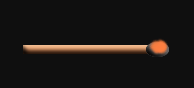
figure no.21
- From the Tools toolbar, choose the Refiner tool -
 . Press F2 or and the Refiner Properties window will open. Follow these steps: . Press F2 or and the Refiner Properties window will open. Follow these steps:
- Select the Push button from refiner type toolbar (figure no. 22-A).
- Select the Type Card Index (figure no. 22-B).
- Fill Width: 20, Height: 20 (figure no. 22-C).
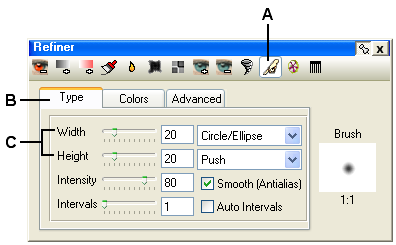
figure no.22
- Now, point the mouse to the orange area and "push" it up (do it by pointing the mouse to the orange area, click and old the left button and move the mouse up - figure no.23).
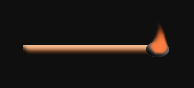
figure no.23
- Repeat step 23 few more times to get a flame shape (figure no.24, 25).
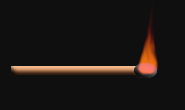
figure no.24
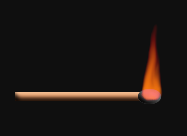
figure no.25
- Click on the Effects -> Colors -> Colorize� menu to open the Colorize dialog box.
- In the Colorize dialog fill in the data shown on figure no.26. Click ok to confirm when finished.
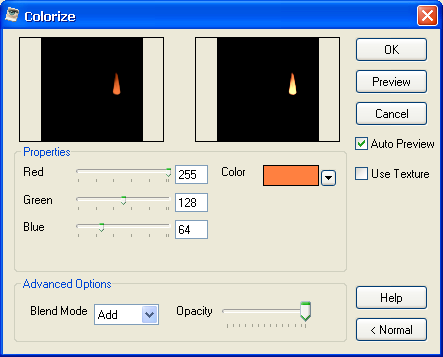
figure no.26
- Finally you should get the Flame Effect (figure no. 27).
figure no.27
- [Optional] To get brighter flame repeat steps 25,26 again (figure no. 28).
figure no.28
- [Optional] To get a copy as "flat" image (without layers) click on the Layers -> Merge (Flat) Layers menu.
- [Optional] You may create the flame in various color:
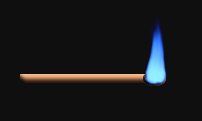
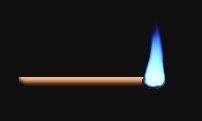
- For a blue flame set the fore color to [Red: 64, Green: 128, Blue: 255] in step 19 and Red=64, Green=128, Blue=255 in the Colorize dialog (Step 26).
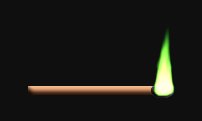
- For a green flame set the fore color to [Red: 128, Green: 255, Blue: 64] in step 19 and Red=128, Green=255, Blue=64 in the Colorize dialog (Step 26).
|
